All posts under 'Clothing'

Hime Rose Garden Party Dress + Process Pics and Pattern!

Friday, June 19th, 2015

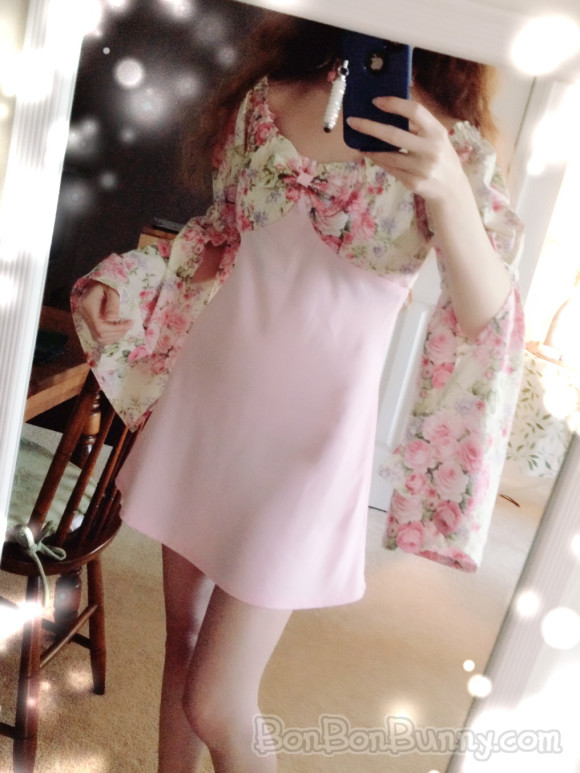
Hello!! (^o^)/  For the past few days this week, I have been working on sewing this dress!  It has wide bell sleeves, like a peasant top, and I decided to make it out of solid pink fabric and a beautiful pink rose print fabric, which made it look like a garden party dress~  I’M SO IN LOVE WITH IT!!

bellsleeve gardendress worn (5)

It is not a Lolita dress because the skirt is not long or full enough, however I am considering adding a wide ruffle trim to the bottom of it to add several inches (although even then it still will not be full enough to accommodate a petticoat).

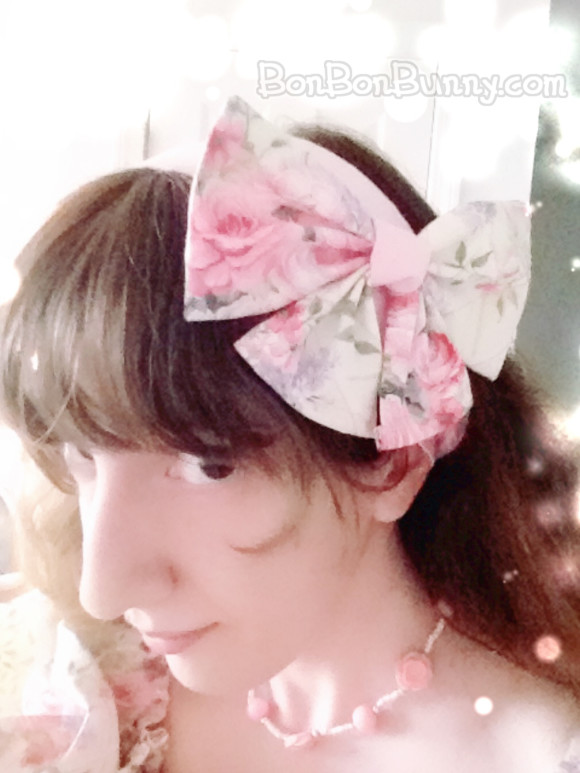
I also made a wide headband out of the pink fabric, which is elasticized at the back, and a big bow from the rose fabric, which is attached with a pin on the back so it can be removed from the headband and pinned elsewhere.

bellsleeve gardendress worn (4)

(I’m not wearing makeup in this picture – usually I put at least eyeliner on but for these I was too lazy! oAo)

Now for my progress shots!!

Read the rest of this entry »

Easiest, Cutest Ponytail Holders into Two-Way Clips DIY

Saturday, April 18th, 2015

Hello!!  Let’s do another DIY today!!

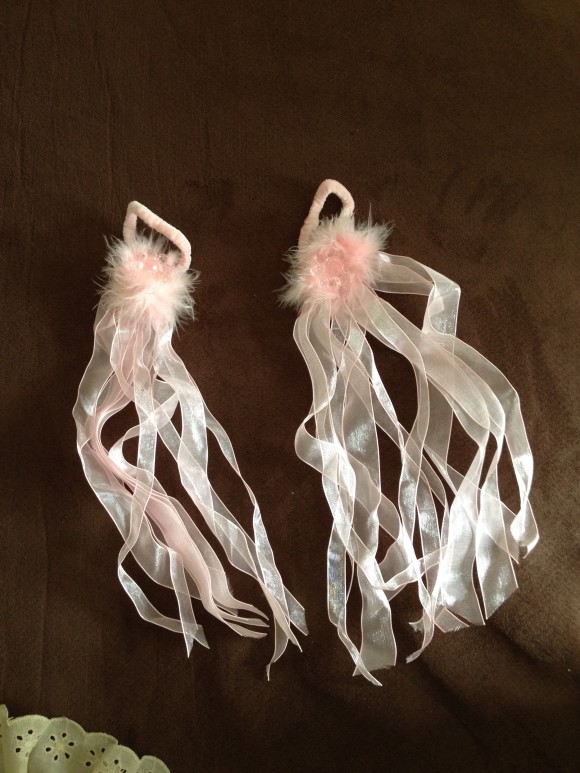
I have these ponytails I got for super cheap (I love browsing the girls’ hair accessories section of EVERY STORE), look at how cute they are with a plastic flower in the middle (a little hard to see ’cause it’s transparent), fluffy fuzz, and long trailing ribbons!  They have always looked ballerina-like to me~

IMG_0096

The problem is, I never wear my hair in ponytails!  So these have just been sitting in my hair accessories bin (I have a medium-sized basket full of them on top of my dresser oAo), completely unused, which is a crime considering how cute they are!

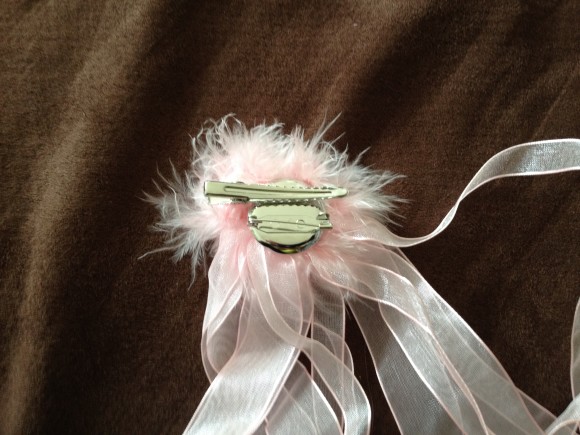
So… simplest solution ever.  I turned them over, snipped off the elastic part, and hot glued a two-way clip there instead.

IMG_0098

With the hair clip part, they can still be clipped in to the hair in front of ponytails if I ever do decide to wear them that way!!

But they’re so much more versatile now, too!  You don’t need your hair in ponytails in order to wear them any more.

And with the brooch pin part, you can pin them on anything – like a brooch on your top, on either side of your socks (if you are like me and wear knee socks a lot), on a canvas bag or purse that you have, anywhere that you want to have pretty trailing ribbons!

Here’s a pic of me (first posted over in my other DIY post about making those elbow-length gloves) using them clipped on the gloves as well as one on the hat!

BonBonBunny Himegyaru Gloves

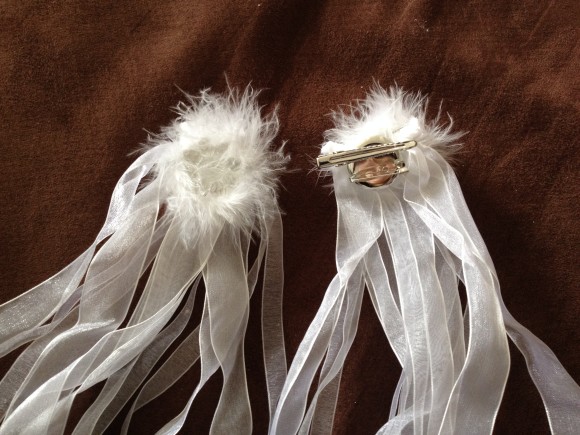
Yes, that’s a white one!  I was so excited when I found these in the store, I picked up both pink ones and white ones. o_o

IMG_0101

They got the same two-way clip treatment~

I have been enjoying incorporating all of these into all kinds of cute outfits!!

DIY Pretty Himegyaru Elbow Gloves Tutorial

Thursday, March 19th, 2015

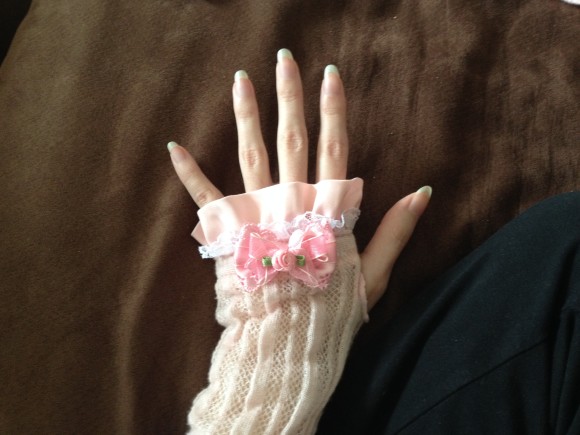
DIY Himegyaru Gloves - Final

It’s been for EVER and EVER since I posted any of my sewing projects~  Here is how I recently frilled up a pair of plain gloves into something perfect for himegyaru (or even a casual outfit if I am just feeling fancy)!
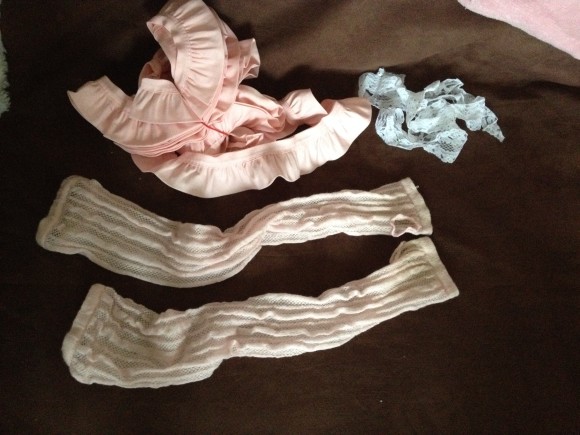
DIY Himegyaru Gloves - Supplies

Supplies:
A pair of knit gloves – mine came from Claire’s, I think, but I’ve had them forever so I don’t really remember LOL.
Pink ruffle trim – I have a ton of this that I hoarded from when I worked at Jo Ann – you don’t have to buy nearly as much as I have pictured here, you really don’t need more than a yard!  You also don’t need to buy it pre-ruffled if you can run a thread through one edge and ruffle it yourself.
Lace trim – also came from Jo Ann.  You’ll need roughly the same length as the other trim.
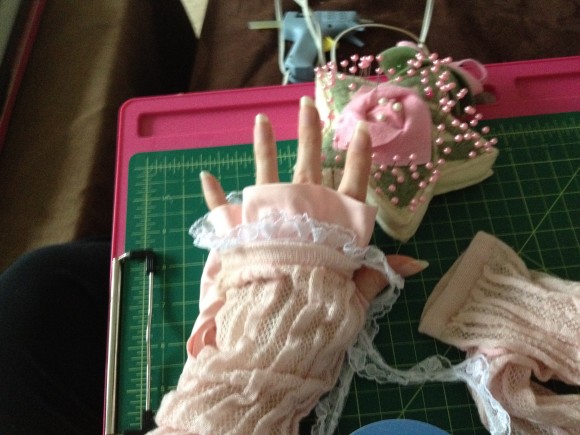
DIY Himegyaru Gloves - Planning

Planning
This is me trying the glove on and laying my supplies on top of it to see how they look layered together!  I ended up ditching the lace I photographed in the last photo, and went for this narrower lace instead, so that plenty of the pink ruffle stayed visible.  Also, this smaller lace has hearts on it, so that’s always a win. :3

Cutting & Pinning
Cut your trim to a length longer than it would take to wrap around your hand.  Then use the length you just cut to also cut the pieces for the other side, so that they’ll match~
Lay them out on the glove again, just like you did during the Planning step, but more neatly.  I still did this still right on my hand rather than taking the glove off.  Mainly the reason for that was so that the elastic around the fingers would be properly stretched to the size of my hand so that I knew the length of trim was enough.  Pin the trim in place, being careful not to poke your hand because you’re still wearing it at this point LOL.
DIY Himegyaru Gloves - Sewing

Sewing
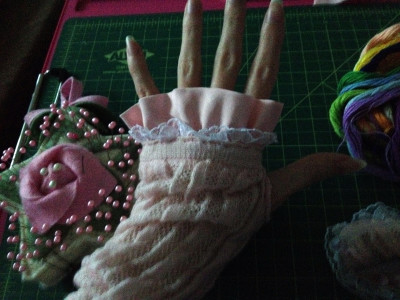
My sunlight was going away by this point in the project, so this photo is darker haha//
But if you look closely, you can see the pink stitches along the edge of the glove!
I took the glove off for the sewing, the pins keeping the elastic stretched as I needed it,
but I put the glove back on to model it for this pic.

For a small project like this, I like hand sewing (the stitch I used is a normal back stitch)
but if you have a sewing machine then it’s certainly possible to use it!
If it were me though I would have trouble getting through all the layers we’re sewing through,
plus it always feels awkward maneuvering the machine for a project this small,
so I recommend hand sewing unless you’re really confident with your machine!

DIY Himegyaru Gloves - Final

Add Details and Finish!
You are pretty much done at this point!
Try your gloves on to make sure that your fingers still go through the elastic,
because in sewing along it the elasticity is likely gone~

You can put any kind of pretty additional details on top!
I like to use brooches or two-way clips rather than permanently affixing anything on them,
so that I can swap them out and mix-and-match however I like!

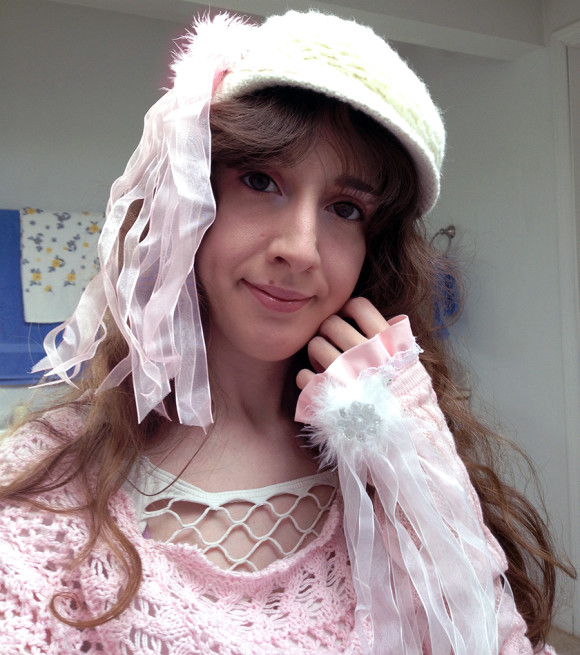
Here they are with a fluffy white pin and long trailing ribbons!
BonBonBunny Himegyaru Gloves

Princess Training: Foundations

Friday, August 12th, 2011

August 12, 2011

There were some delays, but my princess dress is scheduled to arrive within the next week! It actually totally coincidentally just happened to coincide with my birthday! 😀

I had to hurry up and finish these projects I had lying around!

No self-respecting Lolita coordinate is finished (or started, for that matter) without the very important…

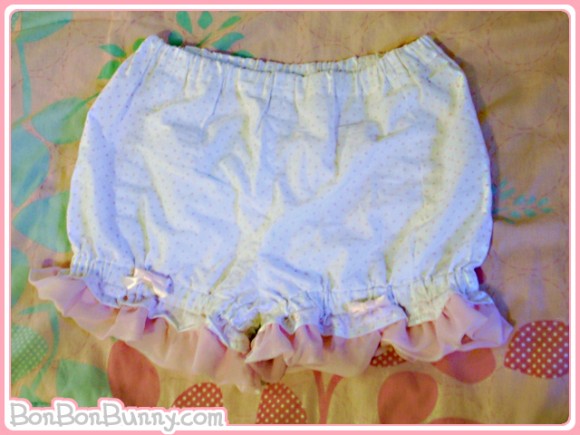
…bloomers! XD

These I was very good about not procrastinating on. I actually finished them in only a couple of days, not long after placing my dress purchase.

I LOVE how they turned out. White fabric with pink polka dots = omg perfection. Add pink chiffon ruffles and little pink bows and you’ve just taken several steps beyond perfection. The bows are actually detachable – they have brooch pins on the back – and the main reason I stuck them on there was so I could tell which side was the front! XD

I followed the pattern with virtually no changes from Simplicity 3618. Here, I’ll include a link so you can check it out for yourself. 😀

Cute costumes. XD; The bloomers are short, but I like them that way since it makes them more versatile. I’ve already worn them under some skirts I own, and they are SO comfortable. Plus, I’ve never liked just wearing skirts with nothing underneath, especially concerning the length most skirts are available in nowadays. My self consciousness virtually evaporates when I wear these, since I no longer have to worry about modesty and can just enjoy wearing a cute skirt. c:

Okay! Moving right along to the project-I-totally-procrastinated-on-for-two-months-and-only-finally-finished-yesterday!

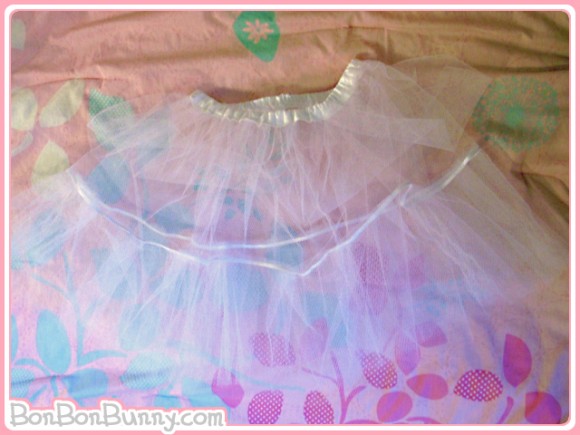
A petticoat! Absolutely necessary for that perfect princess poof. I didn’t use a pattern for this at all, only using information I’ve garnered from dozens and dozens of petticoat tutorials I’ve read online. I definitely made some mistakes, but I know exactly what to do next time to make an even better petticoat.

This provides some substantial poof, but the next one I’ll make will have twice as much material and ruffles. 8D Just because that’s what Lolita is all about!

All right, that’s about enough of my gushing over my sewing projects. n_n I am just really proud of them, since I’ve never sewn garments before these, and I love how they turned out! AND NEXT WEEK MY DRESS AND SHOES AND SOCKS ARE GETTING HERE YOU GUYS OMG 8D 8D 8D

Update: Okay so it wasn’t exactly the next week lol but here’s Princess Training: The First Steps. c: