All posts under 'Plush & Sewing'

Super Easy Wide Fabric & Elastic Headband DIY Tutorial + Pattern

Saturday, June 27th, 2015

Hello lovelies!!  I mentioned the wide headband that I made in my bell-sleeved dress post, so here is my tutorial detailing how to make one yourself!!
bellsleeve gardendress worn (4)

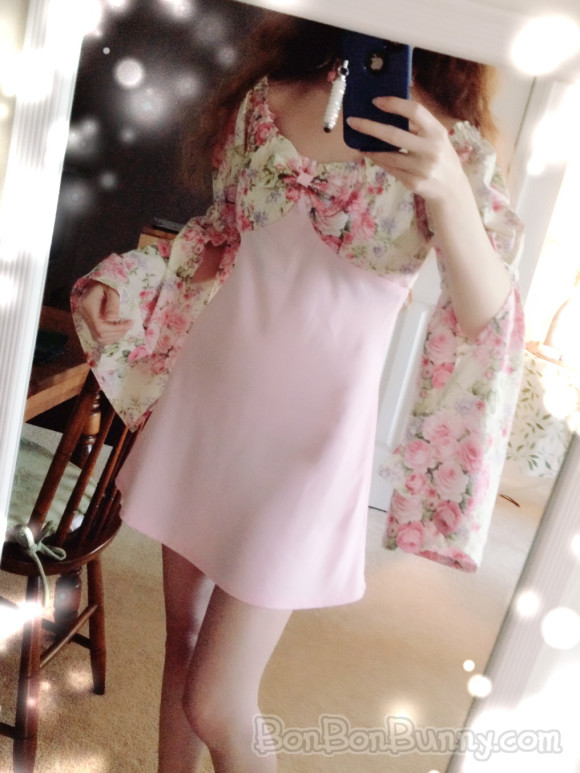
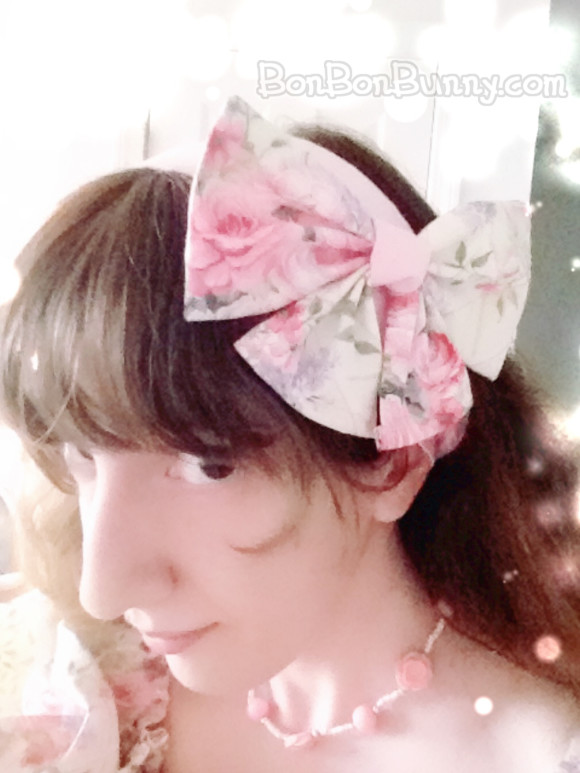
The headband is shown here almost completely hidden under this giant bow.  Adding details to this headband is VERY EASY!!!  I have suggestions for potential details at the end of the tutorial!

Now, let’s begin the tutorial!!
bonbonbunny_fabricheadbandtutorial (1)

Drawing your Headband Shape
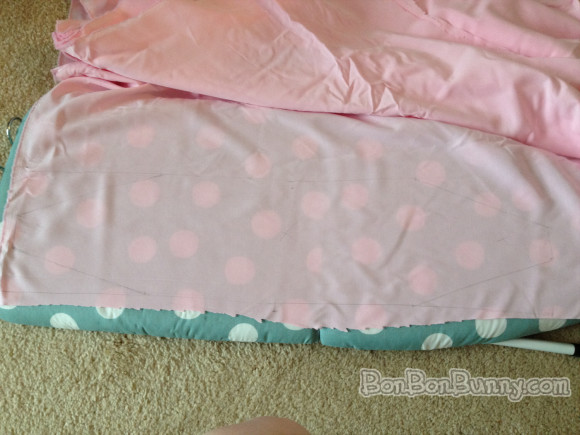
Here, you can see how messily I’ve scribbled a rough pattern shape onto the wrong side of the fabric.  I didn’t even use a marking pencil, just a mechanical pencil that was nearby LOL.

Anyway, the shape is 24 inches long.  At its widest point in the middle, it is 6 inches wide.  It’s going to be folded in half, so a 6 inch wide shape here will make a finished headband that is 3 inches wide.  When I tried it on later, I actually found 3 inches to be cloooose to being too wide.  For future headbands, I think that I will make them 4 inches wide at this step, resulting in a 2 inch wide headband.

The shape tapers in at the ends to about 2 inches wide – this is the part that’s going to be underneath and at the back of your head, and it’s where the elastic is going to be fed through.  It’s not really necessary to taper the shape in like that, though, and in fact, since I said that future headbands that I make will be slightly narrower, I probably won’t taper the ends at all, and just use a long, simple rectangular piece.

You’ll also notice a small X drawn in the center of the piece – that’s to remind myself which side is the wrong side!
bonbonbunny_fabricheadbandtutorial (2)

Cut and Fold in Half
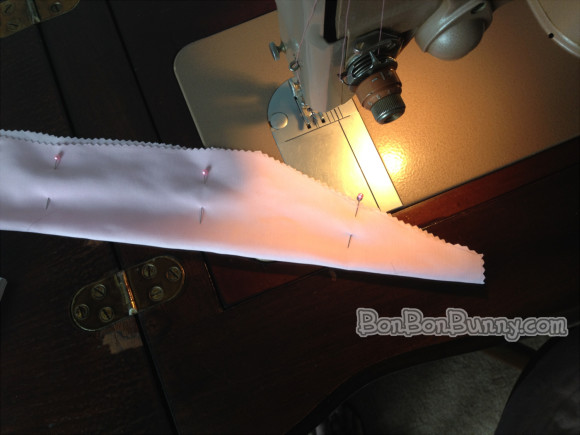
I used pinking shears to cut mine, which keeps little thread pieces from falling out everywhere, but this is my own preference and you can certainly use regular fabric scissors.

Fold it in half longways, with the WRONG side out, and pin in place.
bonbonbunny_fabricheadbandtutorial (3)

Sewing
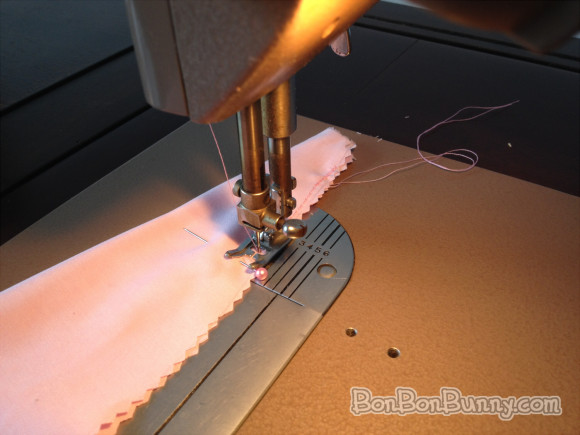
DON’T sew the narrow ends – just sew along the long side, close to the edge.  Be sure to backstitch, because you will need that reinforcement there when turning it inside out later!
bonbonbunny_fabricheadbandtutorial (4)

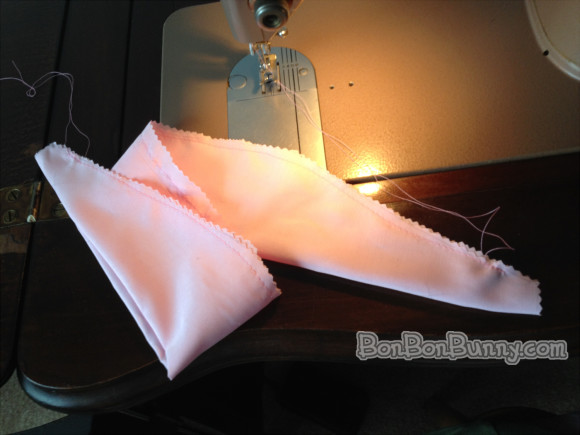
Well, that one straight stitch was pretty much the whole project.  We’re almost finished at this point lol.  All that’s left is turning it right side out and putting a tiny piece of elastic in at the bottom!
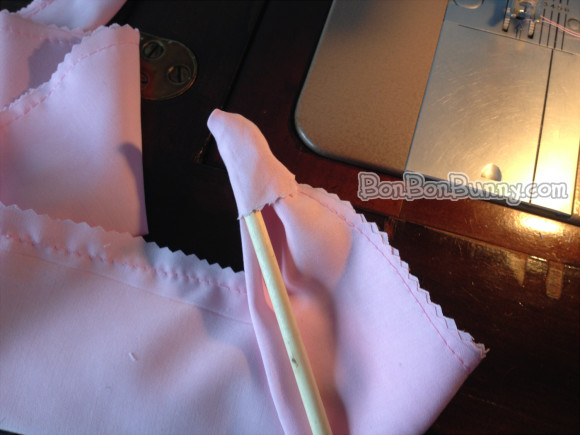
bonbonbunny_fabricheadbandtutorial (5)

Turning Right Side Out
The beginning of this step is the only hard part, because the ends are so narrow.  I have a wooden dowel nearby my sewing supplies that helps me push fabric through, like pictured here.  Any pointy-but-blunt object will work, like the end of a pen.
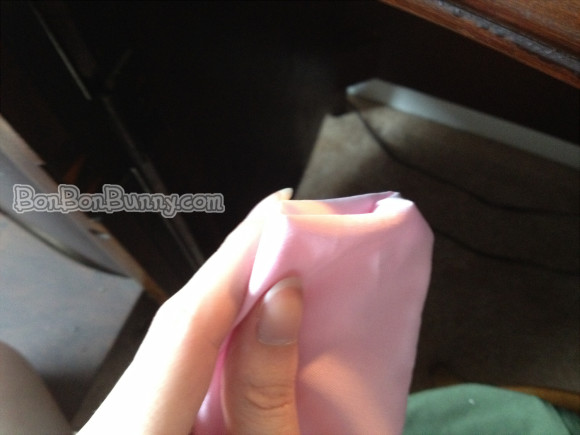
bonbonbunny_fabricheadbandtutorial (6)

Almost Done Turning
Much easier at this point.
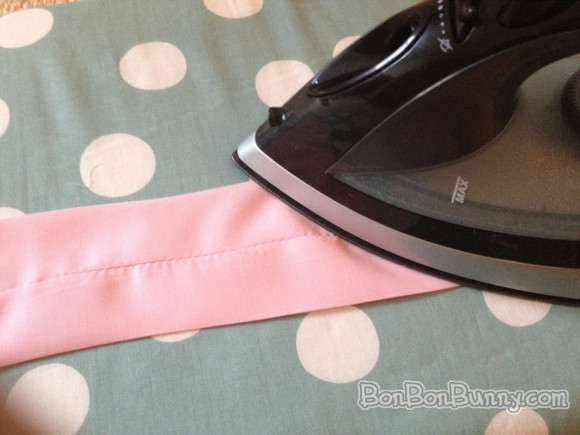
bonbonbunny_fabricheadbandtutorial (7)

Fold and Press
With your right-side-out headband, fold it in a way so that the seam is at the bottom center, then iron it so that it’s pressed nice and flat.  The fact that you can see small puckers in the fabric along my seam means that the tension on my machine was too tight.  Don’t be like me.  Don’t make my mistakes.
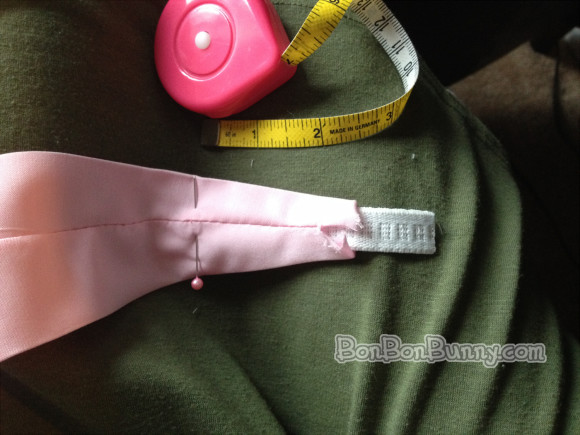
bonbonbunny_fabricheadbandtutorial (8)

Pinning Elastic in Place
Simply cut 3 inches of elastic.  What we’re going to do is feed it into the narrow ends, about 3 inches deep.  Hold the ends with pins while you’re working.  A lot of the fabric is going to get pushed together and gathered around those three inches.  That’s what you want, so that it stretches properly and holds on to your head~
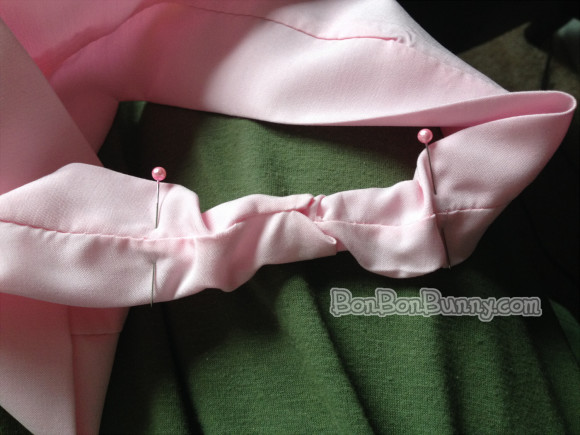
bonbonbunny_fabricheadbandtutorial (9)

Fold the rough ends of those edges under, too, so that they look finished.  Mine is still messy.  It’s okay to be messy.  It’s good for you.  Very therapeutic.
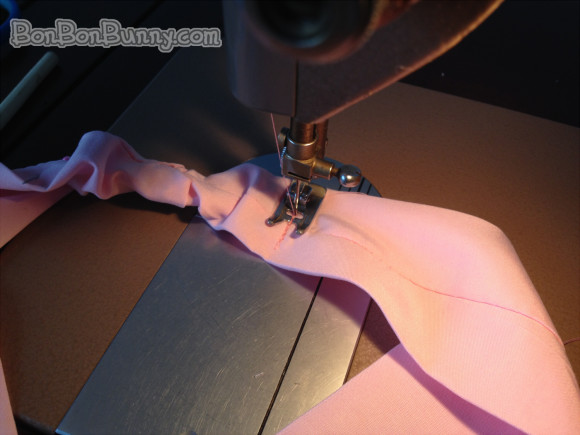
bonbonbunny_fabricheadbandtutorial (10)

Stitch Over Elastic
These stitches are over the ends of the elastic that are inside the headband.  Go over them several times, backstitching to make sure they are each held securely.
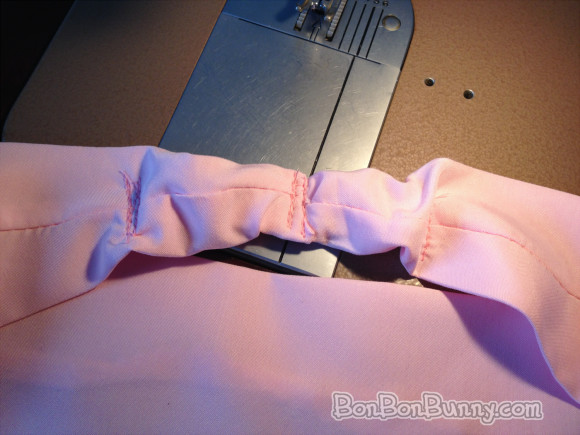
bonbonbunny_fabricheadbandtutorial (11)

Go over the middle, too, to close up the opening!  Messiness is A-OK.

And you are finished!!  Try it on to make sure it’s comfortably snug~

And these headbands are highly customizable!!

  • You can leave yours blank like mine so that you can pin detachable bows or brooches onto it for mixy-matchy accessories!!
  • Sew ribbon or lace down the center, longways, for contrast!
  • Or cris-cross ribbon over it for that Lolita headdress look, especially in combination with the next suggestion:
  • Sew lace along the front and back edges!!
  • Or just one edge – mix it up!
  • Make a ruffle from fabric and sew that along one edge – you could make a psuedo-bonnet!
  • BOWS!!!  Big bows at the center or to one side or the other, small bows on either side, THE POSSIBILITIES ARE ENDLESS.
  • Attach long ribbons (or long-tailed ribbon bows) near where the headband rests near your ears so that they trail over your shoulders and hair~
  • Drape strings of pearls so that they hang off of it for a pretty mermaid look!

I could keep listing things for ever and ever. o_o  I bet you can come up with things too!!

Hime Rose Garden Party Dress + Process Pics and Pattern!

Friday, June 19th, 2015

Hello!! (^o^)/  For the past few days this week, I have been working on sewing this dress!  It has wide bell sleeves, like a peasant top, and I decided to make it out of solid pink fabric and a beautiful pink rose print fabric, which made it look like a garden party dress~  I’M SO IN LOVE WITH IT!!

bellsleeve gardendress worn (5)

It is not a Lolita dress because the skirt is not long or full enough, however I am considering adding a wide ruffle trim to the bottom of it to add several inches (although even then it still will not be full enough to accommodate a petticoat).

I also made a wide headband out of the pink fabric, which is elasticized at the back, and a big bow from the rose fabric, which is attached with a pin on the back so it can be removed from the headband and pinned elsewhere.

bellsleeve gardendress worn (4)

(I’m not wearing makeup in this picture – usually I put at least eyeliner on but for these I was too lazy! oAo)

Now for my progress shots!!

Read the rest of this entry »

Easiest, Cutest Ponytail Holders into Two-Way Clips DIY

Saturday, April 18th, 2015

Hello!!  Let’s do another DIY today!!

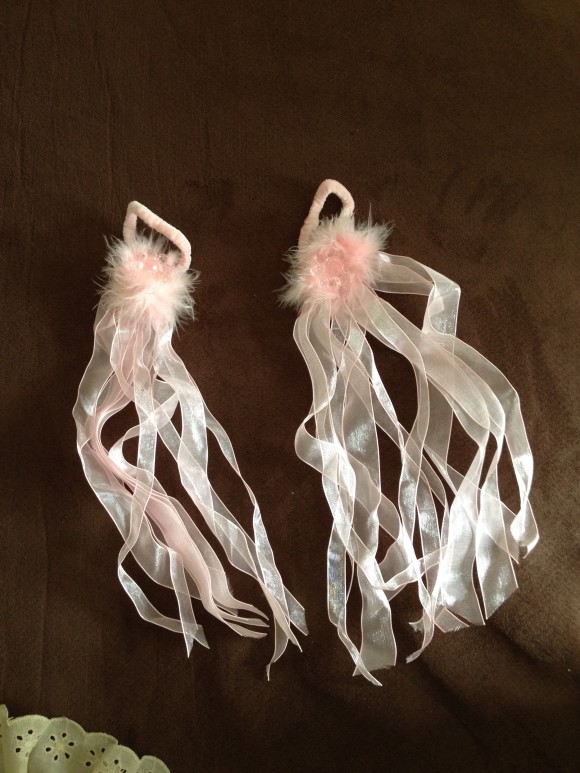
I have these ponytails I got for super cheap (I love browsing the girls’ hair accessories section of EVERY STORE), look at how cute they are with a plastic flower in the middle (a little hard to see ’cause it’s transparent), fluffy fuzz, and long trailing ribbons!  They have always looked ballerina-like to me~

IMG_0096

The problem is, I never wear my hair in ponytails!  So these have just been sitting in my hair accessories bin (I have a medium-sized basket full of them on top of my dresser oAo), completely unused, which is a crime considering how cute they are!

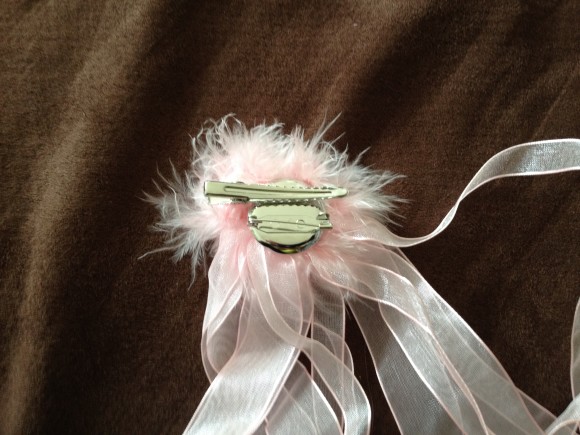
So… simplest solution ever.  I turned them over, snipped off the elastic part, and hot glued a two-way clip there instead.

IMG_0098

With the hair clip part, they can still be clipped in to the hair in front of ponytails if I ever do decide to wear them that way!!

But they’re so much more versatile now, too!  You don’t need your hair in ponytails in order to wear them any more.

And with the brooch pin part, you can pin them on anything – like a brooch on your top, on either side of your socks (if you are like me and wear knee socks a lot), on a canvas bag or purse that you have, anywhere that you want to have pretty trailing ribbons!

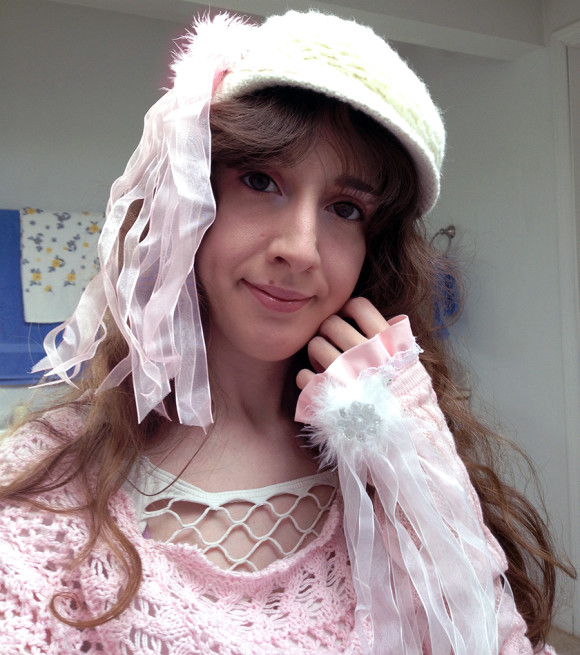
Here’s a pic of me (first posted over in my other DIY post about making those elbow-length gloves) using them clipped on the gloves as well as one on the hat!

BonBonBunny Himegyaru Gloves

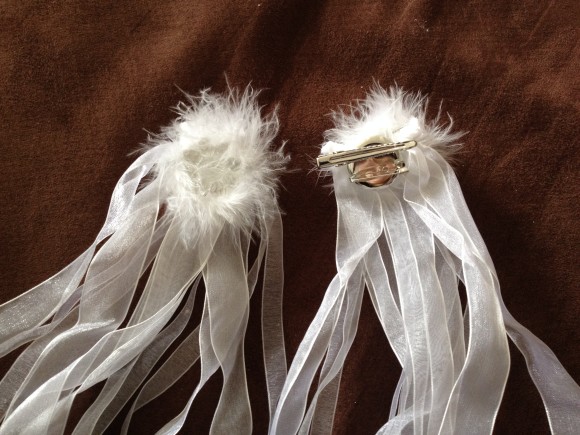
Yes, that’s a white one!  I was so excited when I found these in the store, I picked up both pink ones and white ones. o_o

IMG_0101

They got the same two-way clip treatment~

I have been enjoying incorporating all of these into all kinds of cute outfits!!

DIY Pretty Himegyaru Elbow Gloves Tutorial

Thursday, March 19th, 2015

DIY Himegyaru Gloves - Final

It’s been for EVER and EVER since I posted any of my sewing projects~  Here is how I recently frilled up a pair of plain gloves into something perfect for himegyaru (or even a casual outfit if I am just feeling fancy)!

DIY Himegyaru Gloves - Supplies

Supplies:
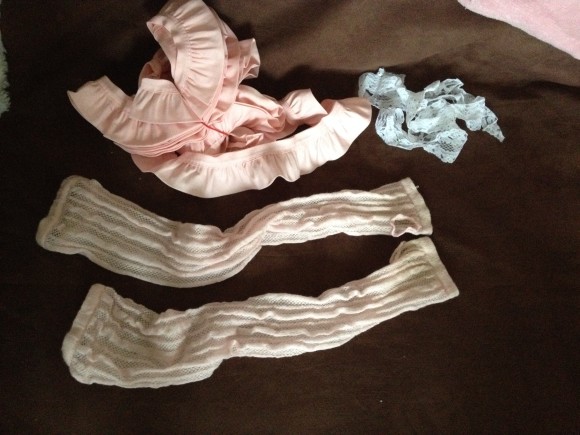
A pair of knit gloves – mine came from Claire’s, I think, but I’ve had them forever so I don’t really remember LOL.
Pink ruffle trim – I have a ton of this that I hoarded from when I worked at Jo Ann – you don’t have to buy nearly as much as I have pictured here, you really don’t need more than a yard!  You also don’t need to buy it pre-ruffled if you can run a thread through one edge and ruffle it yourself.
Lace trim – also came from Jo Ann.  You’ll need roughly the same length as the other trim.

DIY Himegyaru Gloves - Planning

Planning
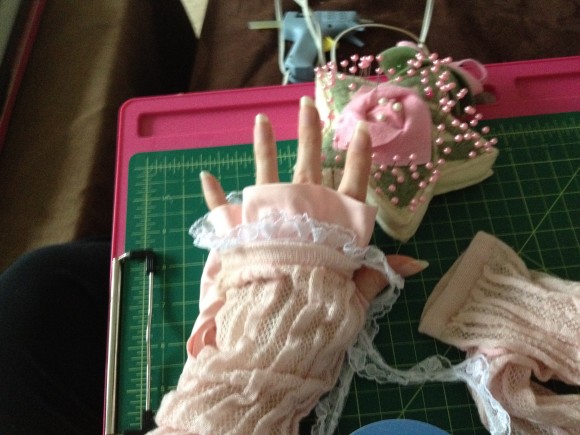
This is me trying the glove on and laying my supplies on top of it to see how they look layered together!  I ended up ditching the lace I photographed in the last photo, and went for this narrower lace instead, so that plenty of the pink ruffle stayed visible.  Also, this smaller lace has hearts on it, so that’s always a win. :3

Cutting & Pinning
Cut your trim to a length longer than it would take to wrap around your hand.  Then use the length you just cut to also cut the pieces for the other side, so that they’ll match~
Lay them out on the glove again, just like you did during the Planning step, but more neatly.  I still did this still right on my hand rather than taking the glove off.  Mainly the reason for that was so that the elastic around the fingers would be properly stretched to the size of my hand so that I knew the length of trim was enough.  Pin the trim in place, being careful not to poke your hand because you’re still wearing it at this point LOL.

DIY Himegyaru Gloves - Sewing

Sewing
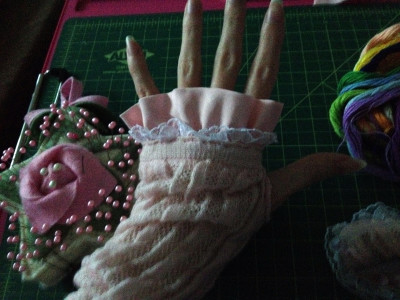
My sunlight was going away by this point in the project, so this photo is darker haha//
But if you look closely, you can see the pink stitches along the edge of the glove!
I took the glove off for the sewing, the pins keeping the elastic stretched as I needed it,
but I put the glove back on to model it for this pic.

For a small project like this, I like hand sewing (the stitch I used is a normal back stitch)
but if you have a sewing machine then it’s certainly possible to use it!
If it were me though I would have trouble getting through all the layers we’re sewing through,
plus it always feels awkward maneuvering the machine for a project this small,
so I recommend hand sewing unless you’re really confident with your machine!

DIY Himegyaru Gloves - Final

Add Details and Finish!
You are pretty much done at this point!
Try your gloves on to make sure that your fingers still go through the elastic,
because in sewing along it the elasticity is likely gone~

You can put any kind of pretty additional details on top!
I like to use brooches or two-way clips rather than permanently affixing anything on them,
so that I can swap them out and mix-and-match however I like!

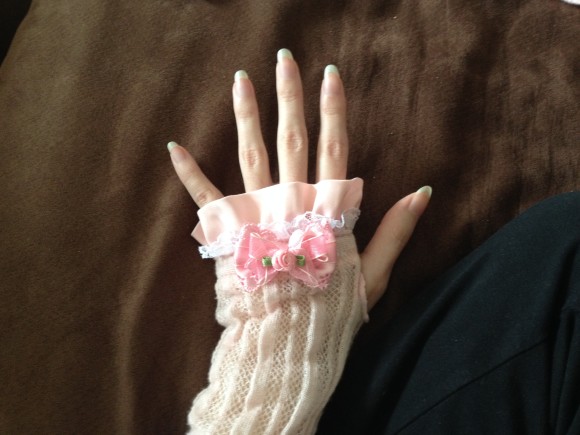
Here they are with a fluffy white pin and long trailing ribbons!

BonBonBunny Himegyaru Gloves

Cute Craft Books

Friday, April 27th, 2012

Maybe you’ve noticed that I like sewing cute things with felt. I wouldn’t have gotten started with this craft if I never read about it first!

Here’s a collection of books that will more than get you started on your own cute, cuddly crafting. You’ll learn all of the techniques and equip yourself with more patterns than you can shake a needle at!

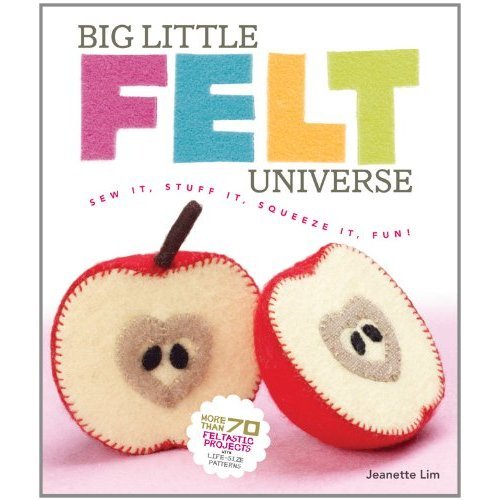
Big Little Felt Universe: Sew It, Stuff It, Squeeze It, Fun!This is a great introductory felt sewing book. There are more than 70 projects in here including food and toys, such as cakes with removable decorations!

The techniques are simple enough that beginners can pick up on them easily, but there’s so much packed in here that experienced crafters will find tons of inspiration as well.

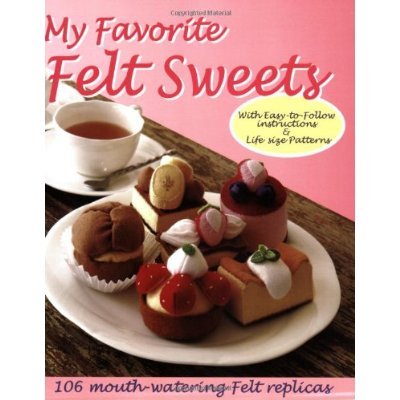
My Favorite Felt SweetsThe book offers detailed, easy-to-follow directions, as well as life-sized patterns, for 106 different projects! o_o

Sheets of colored felt and basic sewing skills (and sometimes a little glue for the final, decorative touches) are all that are required to whip up these luscious-looking and guilt-free confections.

Yum!!

Warm Fuzzies: 30 Sweet Felted ProjectsFelting is a bit different from the typical sewing-with-felt that I’m into, but thanks to the difference in technique there is potential for creating new and different things!

This book encourages using old wool sweaters – a trip to the thrift store could supply you with everything you need. There is no knitting involved!

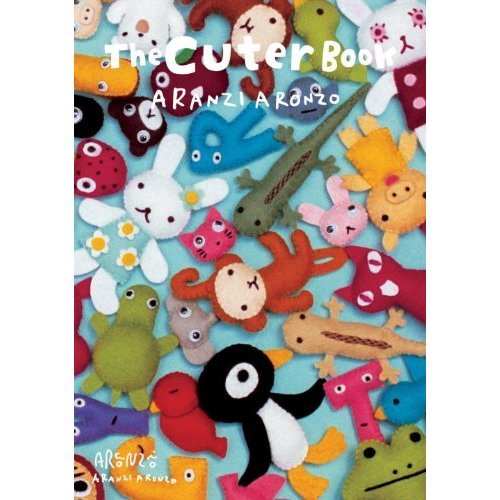
Aranzi Aronzo – Cuter BookThis wouldn’t be a proper cute sewing post if Aranzi Aronzo weren’t included here!

The Cuter Book is a follow-up to The Cute Book, and between the two of them are patterns for hundreds of unique cuddly characters. There’s a special flair to Aranzi Aronzo’s projects… there’s a simplicity to the characters’ designs, but SO MUCH FUN to them, too!

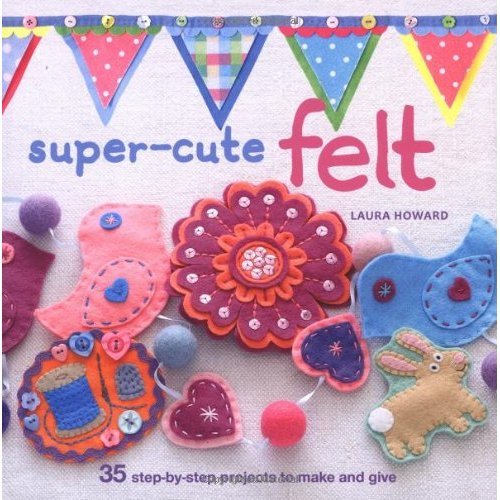
Super-Cute FeltAnd this is a great finisher to this post, thanks to the huge variety of simple projects it includes.

The categories in Super-Cute Felt include Accessories (think brooches and small purses!), Gifts (pincushions!), Homewares (coasters and tea cozies!), and Celebrations for holiday-themed cuteness.

This is all reminding me that I need to get back to work on my own instructional sewing book! o^o