Did you know that it is REALLY HARD to find gyaru sewing tutorials?? I was so surprised that there were so few of them when I searched for them! I’d really love to be among those putting some out there, because a lot of this is not very difficult to make!
Today I will cover how to make some loose-socks-looking legwarmers! They will be baggy around your ankles for a cute effect!
I also want to note that I made these some months ago, before I had a sewing machine that I could use regularly. n_n; Additionally, I made several mistakes – but I will discuss them as we go along, so that you can avoid making them yourself!
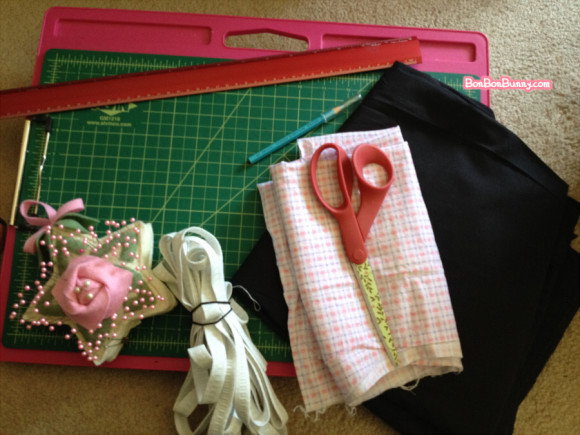
First things first, the materials!
I used solid black as the main fabric, and a pink & purple plaid for contrast.
You’ll also need elastic, either 1/2 inch wide or 3/4 inch wide!
Now, do as I say and not as I do,
and make sure you wash your fabric first, and iron it so that
it is nice and neat while you are working with it. :p
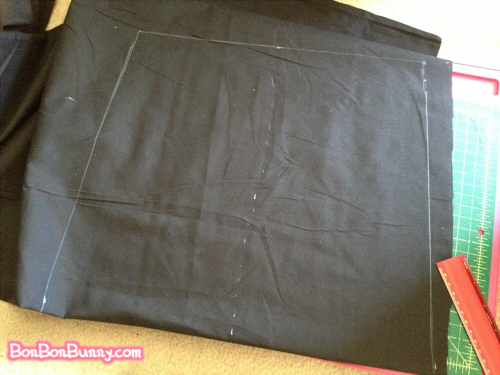
I didn’t make a pattern for this because really, we’re only cutting out rectangles!
I just directly drew out my measurements on the fabric with a marking pencil.
A white colored pencil works fine.
Now, as for how I measured this piece:
Measuring around my lower leg, just under the knee, was 12 inches.
I added just two to that number and cut the top part of our legwarmer shape at 14 inches.
This worked out okaaaay in the end, but I think I should have allowed
more leeway than that. Maybe add three or four inches to your body measurements
rather than only two!
Anyway, the lower end of the shape will be a little bit wider.
This will make that baggy look at the ankles, like cute loose socks.
I made the bottom of my trapezoid two inches wider than the top, at 16 inches.
But I invite you to do four or five inches more than that,
because in the end I didn’t feel that I had made enough of a difference
between the two measurements. n_n;
Oh yeah: You also want to measure the length of your lower leg,
from knee to ankle in a straight line, for the height of the trapezoid.
Mine for that was 14 inches.
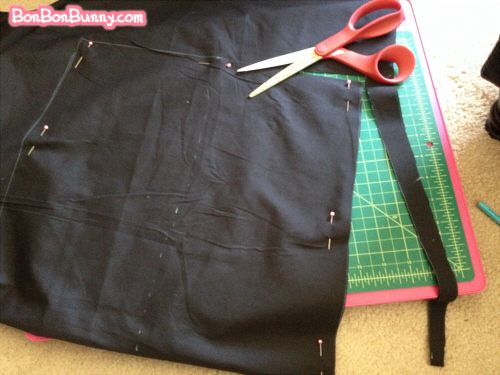
To recap, the top width is under your knee + a few inches,
the bottom width is the top measurement + a few more inches,
and the height of the trapezoid is the length from your knee to ankle.
This whole project is not an exact science, so do not worry about being
super precise with your measurements.
Because of the elastic involved in the end, it’s fine if you’re off by
half an inch or whatever. It’s also fine if you draw or cut messy lines.
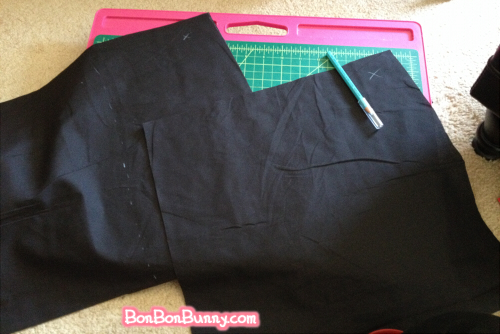
Oh yeah, and if you fold your fabric over while cutting, you can cut
both pieces at once!
I put small X’s in the top corners of my pieces so that I would
always know which side of my fabric is the wrong side.
Double-check for that X at the beginning of each step
so that you know you have the wrong side as the inside of the legwarmers!
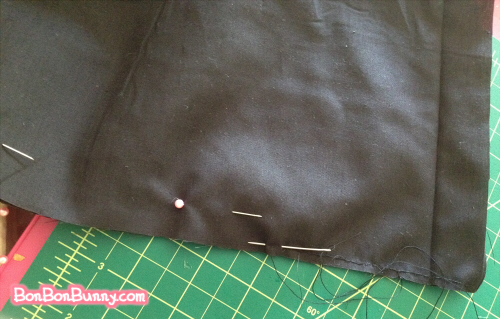
The legwarmer is folded in half long-ways and stitched up~
Don’t make my mistakes. Don’t sew by hand if you don’t have to.
It will take FOREVS.
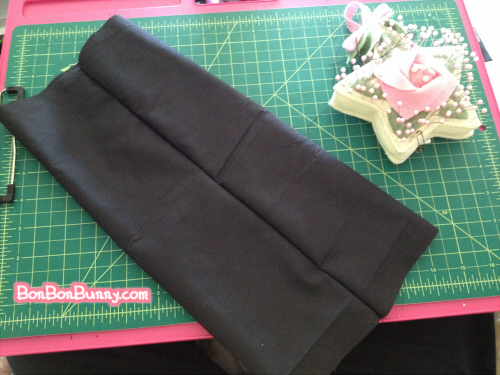
One sleeve is done! Arrange your seam so that it is in the center back.
Also, this is the part where you want to press this seam with an iron.
It will look SO much neater than mine does in this photo lol.
This is also a good point to slip it over your leg and see how it fits!
This is the point where I’d realized mine was a bit more narrow than I wanted,
and I should have made the top width of my trapezoid a bit wider…
But it wasn’t TOO bad, so I kept going!
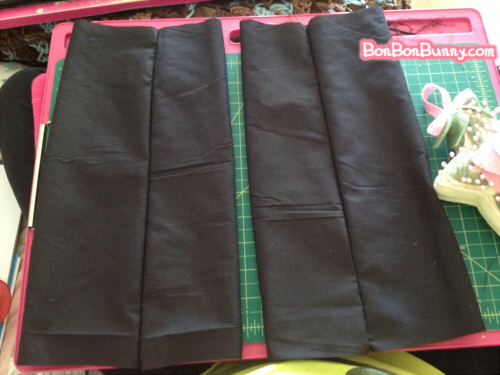
now do it AGAIN.
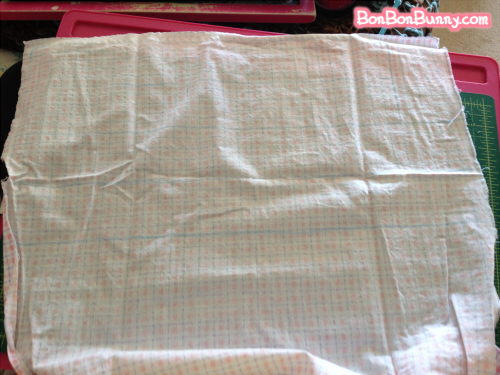
Now we are cutting out rectangle strips for the cuffs
at the top and bottom of the legwarmers.
They need to be just over twice the width of your elastic,
and the same length as the top & bottom edges
of the trapezoids that we just finished, plus one inch so that they can overlap slightly
when you sew them together at the back.
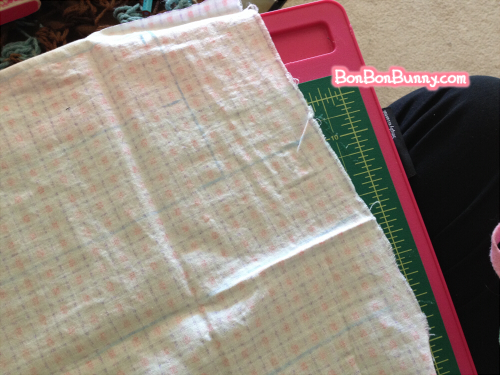
I realized that in the other photo my marking pencil’s lines were hard to see,
so here they are again – the light blue markings on the wrong side of the fabric.
We have two shorter strips and two longer strips.
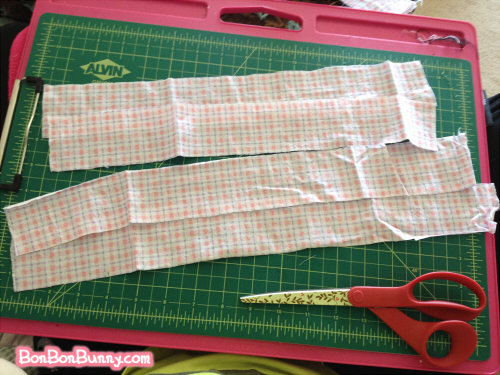
Here you can see the two top cuffs and two bottom cuffs much more easily!
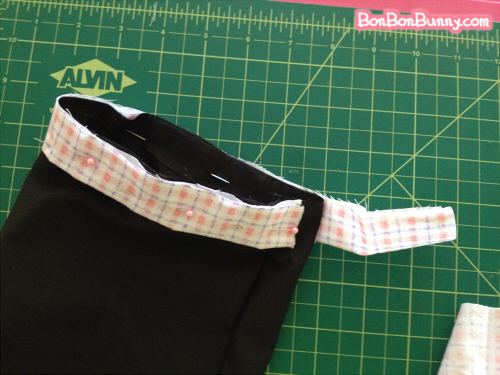
The strips are folded in half longwise and pinned along the edge of the legwarmer,
laying flat against it because we’re going to flip it up after it’s sewn together.
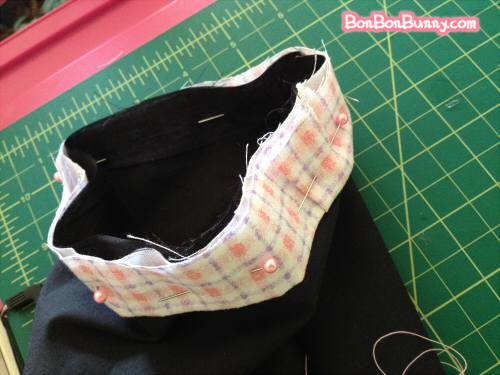
This is hard to show, but the seam for the cuff lines up with the seam
for the legwarmer that we sewed earlier.
Overlap the end of the cuff with its other end.
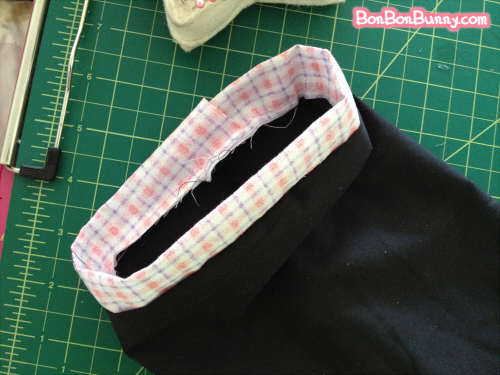
After sewing all the way around (but NOT vertically up that overlapped end),
flip the cuff up and it looks like something that is very neatly finished!
(And, sorry that my inner seams are so messy.
If I were sewing with a machine I would turn them inside so that they are neat!)
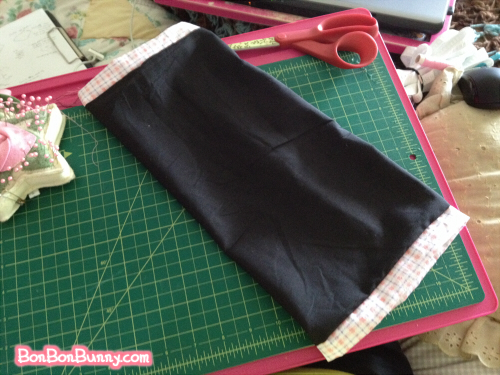
Now do that three more times, one for each remaining cuff!
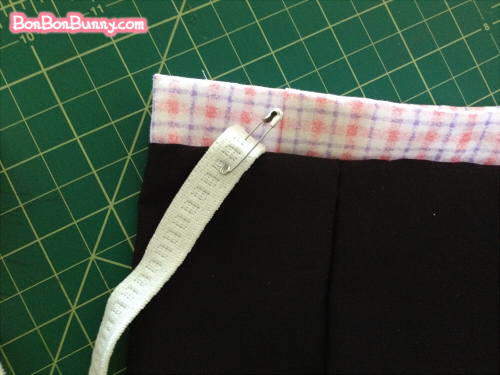
Elastic is easier to push through a channel like this if you put
a safety pin on one end!
As for the length of your elastic, subtract two from the measurement
you got when you measured around your lower leg under your knee!
Do the same for the lower cuff, subtracting two
from the measurement around your ankle!
As you push the elastic through the channel, pin the other end to secure it,
and it will begin to gather a little as you go!
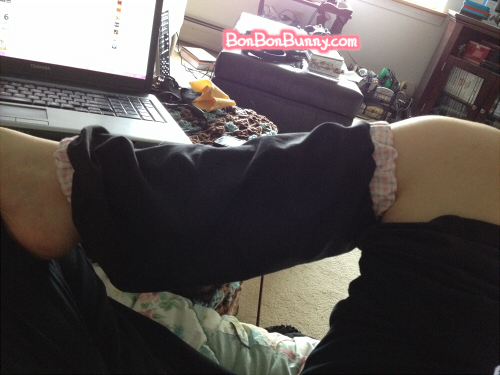
Here is how cute it is with elastic in both ends!!
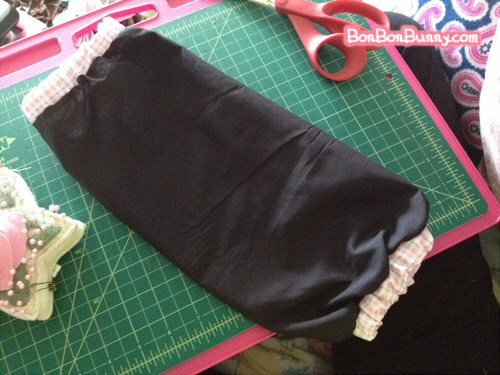
Once your elastic is threaded through, overlap both ends of it
and finally make that vertical stitch up the seam in the cuff,
going over it at least three times to secure the elastic inside!
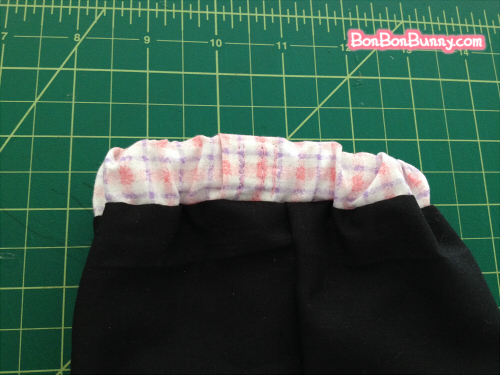
It’s a little hard to see, but I made three vertical stitched there
to reeeaaally securely keep the elastic in place –
if you’re doing this by machine it is way easier to sew through the layers!
Technically, the legwarmers are finished at this point!
Try them on to see how they fit!!
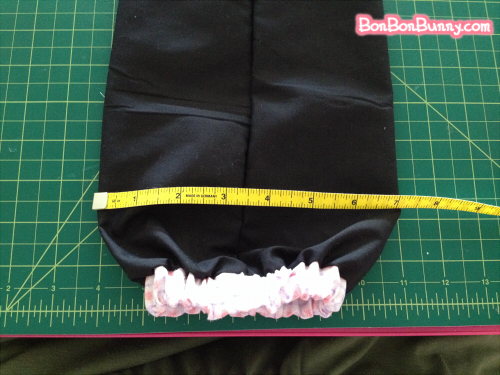
I want to add more details, though!!
Here is how I made several layers of ruffles along the back.
Laying the legwarmer flat, I measured that it is 7 inches across.
We’ll need strips longer than 7 inches because they are going to be
gathered up to make a ruffle that fits that 7-inch space!
The ruffles will decrease in size as they go up,
so I need several of them, each a bit smaller than the last.
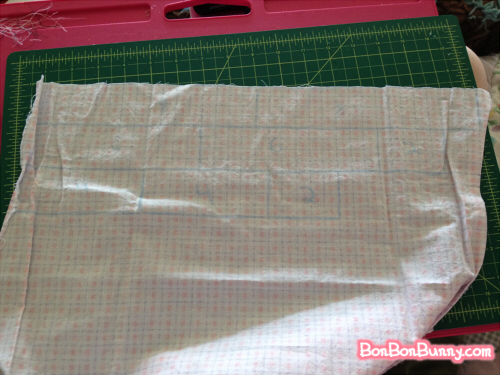
Again drawing out my rectangles directly on my fabric lol.
There are two strips in each size – one set for each legwarmer.
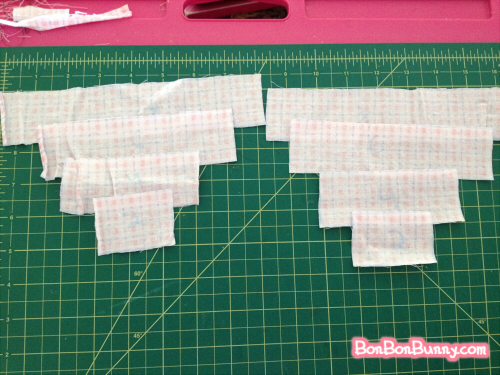
Here are the strips all cut out!
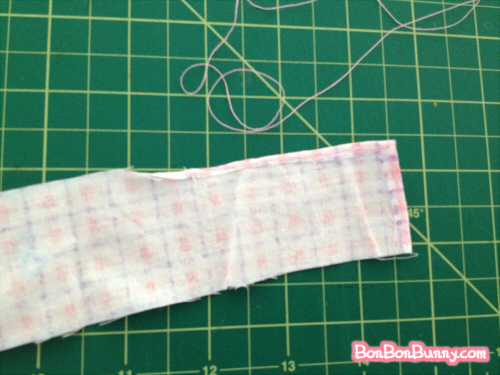
Now I turned the edges down all around to make them look neat and finished.
This step takes FOOOREEEEVERRRRR by hand, don’t do it!
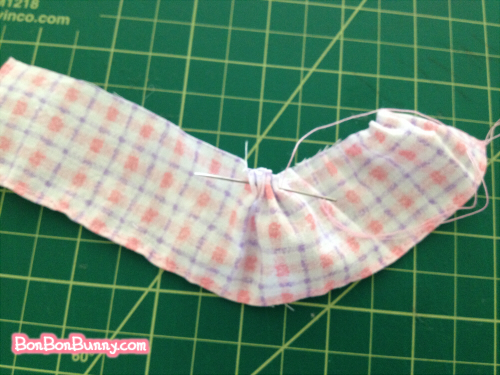
Gathering goes like this!
Run your needle along the top, pinching fabric together through it,
and pull the thread through.
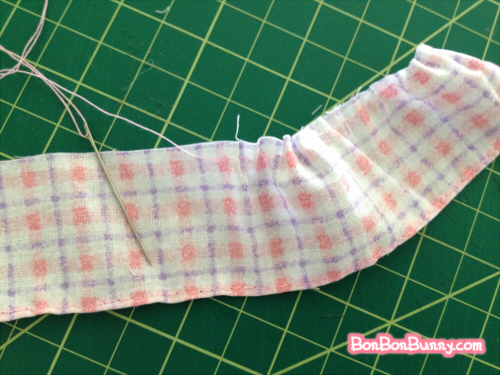
Like this.
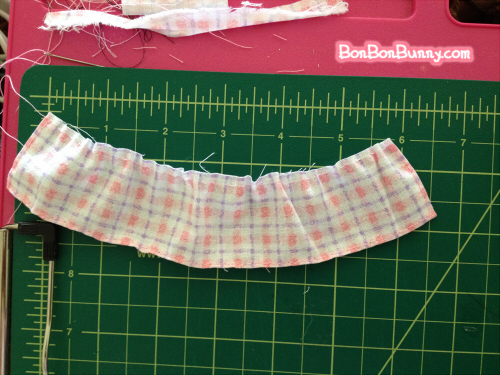
Now I lay the ruffle down against a ruler so that I can fit it to being 6 inches long.
…I was going to go with 7 inches long before (that was the width of the
legwarmer itself laid out flat, remember?)
but when I was looking at it here, my strip was not long enough to look
properly gathered at 7 inches.
Really, when you’re making ruffles, you need to not be like me,
way too stingy with fabric. Make your strips, like,
twice as wide as the space you want to fill them with.
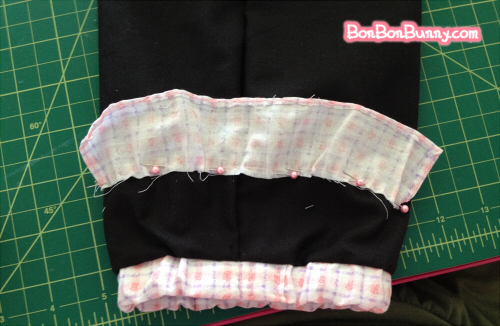
Pin along that gathered edge kind of upside-down like this…
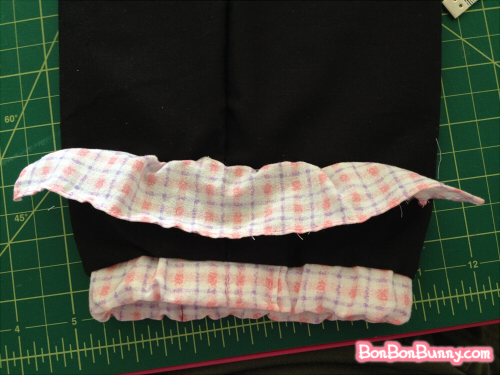
…so that when you turn it down, it looks finished like this!
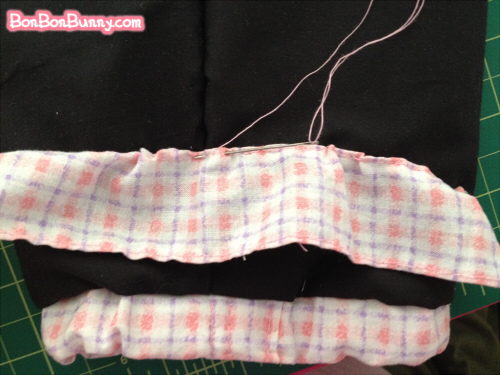
sew sew sew
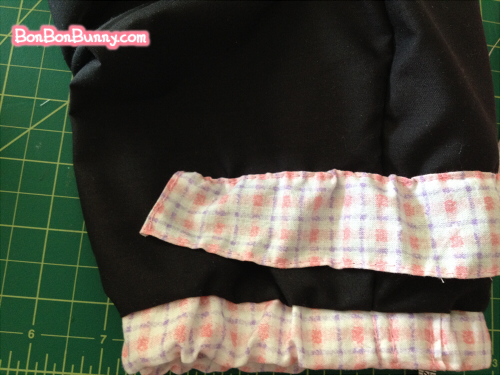
I also made vertical stitches along the ends, to hold it down
and also make sure that the ruffle is flaring out diagonally.
Yeah, this would look a lot better if I’d used more fabric for the ruffle!
Make sure that you use it liberally! c:
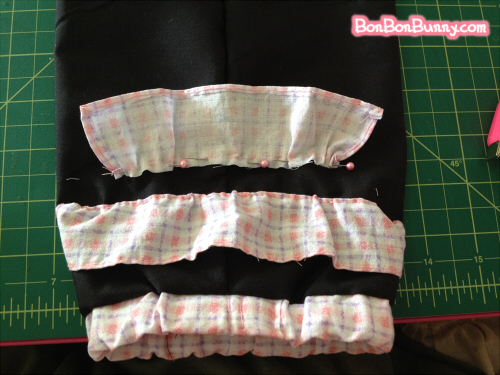
Now the next ruffle!
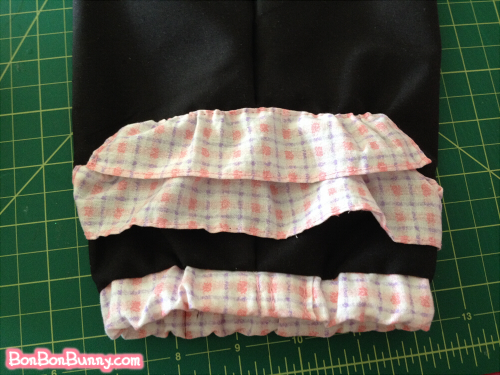
Whoa, it’s beginning to come together!
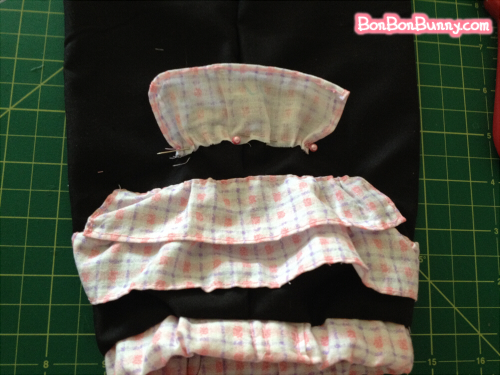
Yeah!!
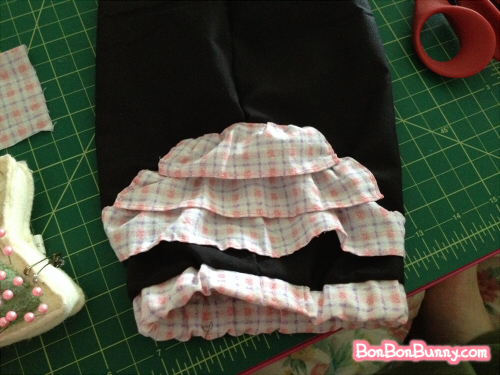
Cute!!!
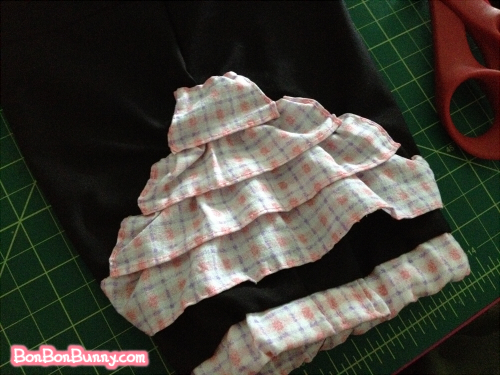
And that’s four!!
I am completely done with the ruffles on one side!!! WOO!!
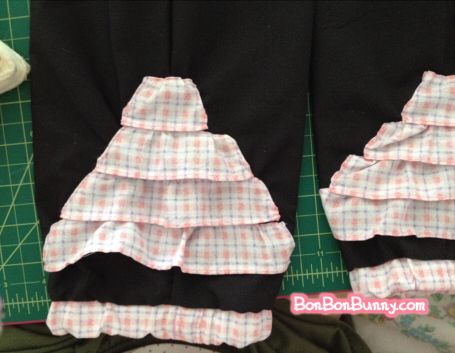
Here is the second!!
What you don’t see here is that like a span of a whole day passed
between attaching all of those ruffles to both legwarmer pieces LOL.
This would be done in MINUTES by machine, but oh gosh,
it was so tedious and time-consuming by hand…
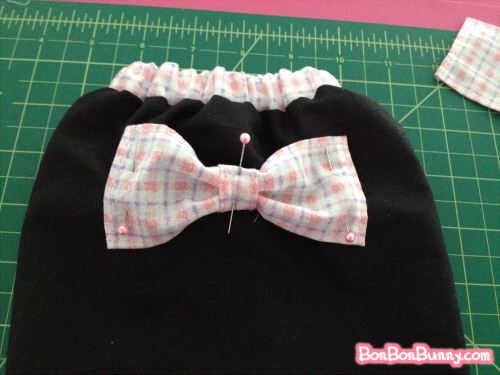
I want just one more little detail!!
Little bows at the knee!
Bows are just cut from a rectangle of fabric, then very small strip.
Both pieces have their edges turned under all around, then
the bow is pinned in place.
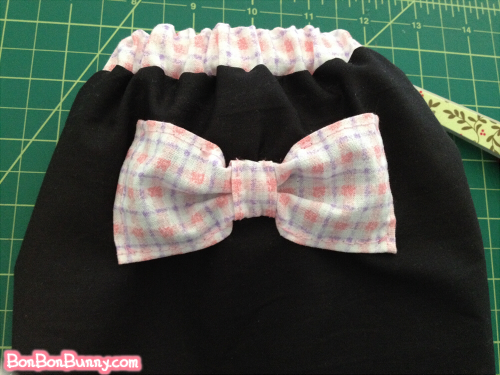
…And stitched down in the corners, as well as anchored in the middle.
Definitely one of the easier steps involved haha.
AND!!! WOW!!! THAT’S IT!!!
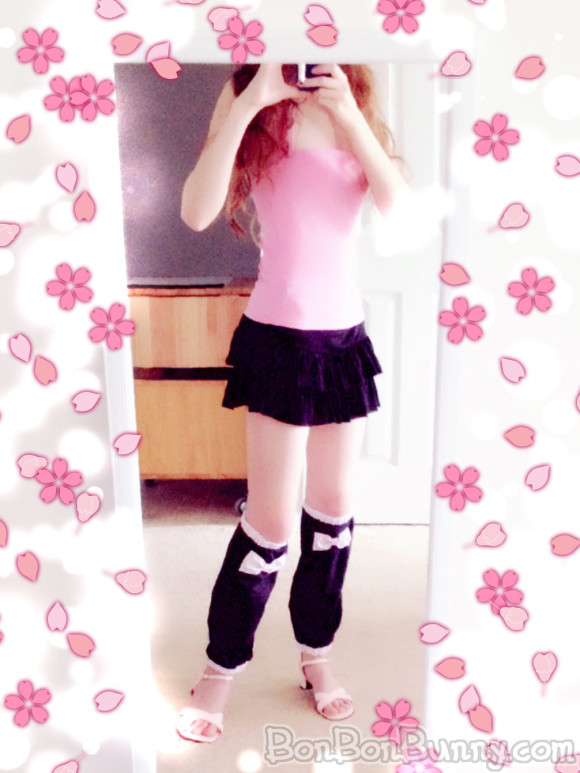
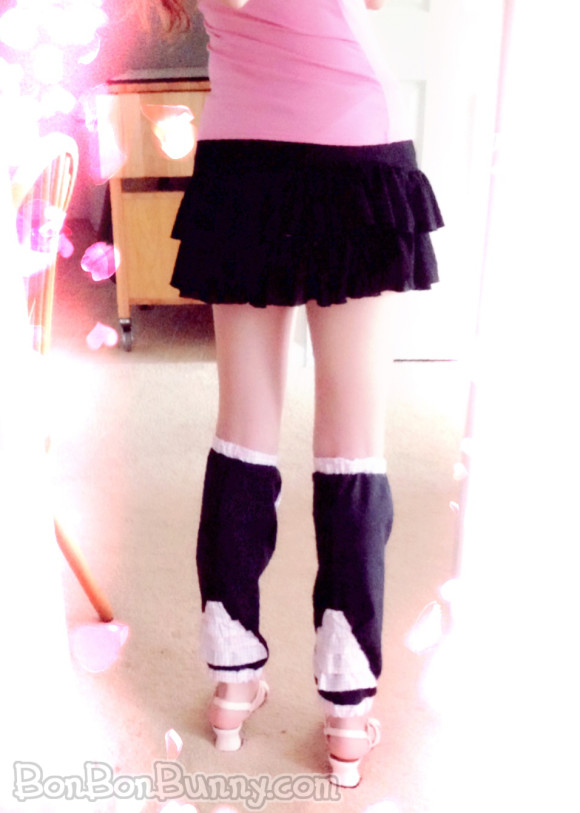
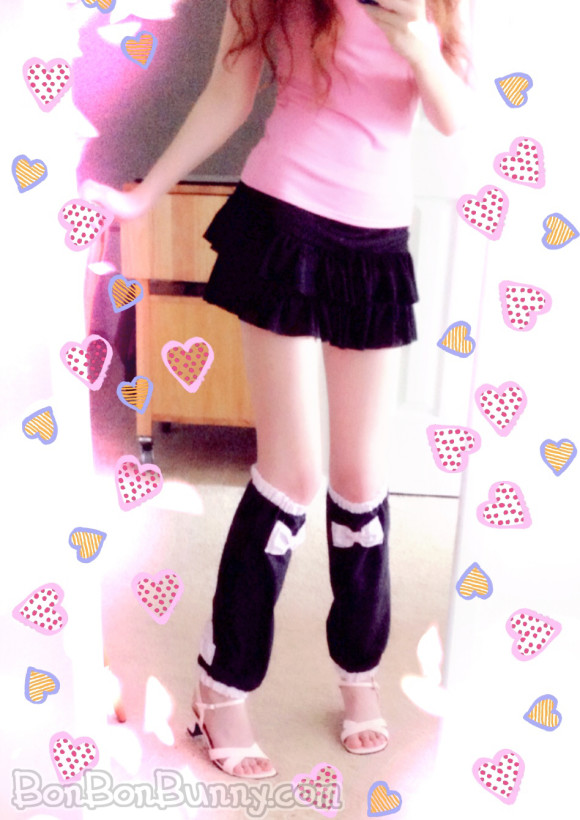
Here they are all finished!!!
Ahhh, I wish that I’d made the ankle width so much wider.
And I wish that I’d made the ruffles so much fuller.
But you know what? I love them.
They are incredibly super cute and a fantastic accent
to my black/pink outfits!!
When I make more legwarmers in the future,
I know exactly what changes to make to them so that they are perfect!
I can’t wait to make more in more colors!! \(^o^)/


