DIY Pretty Himegyaru Elbow Gloves Tutorial
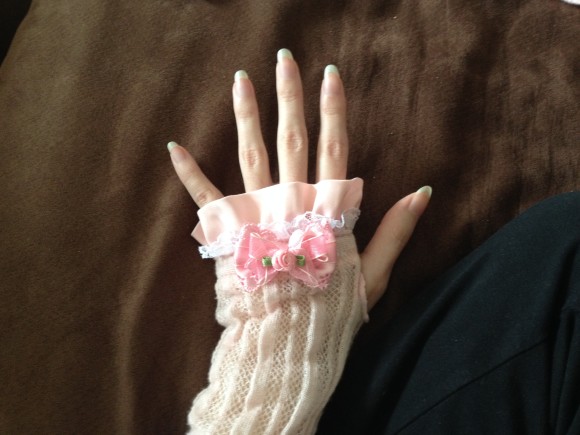
It’s been for EVER and EVER since I posted any of my sewing projects~ Here is how I recently frilled up a pair of plain gloves into something perfect for himegyaru (or even a casual outfit if I am just feeling fancy)!
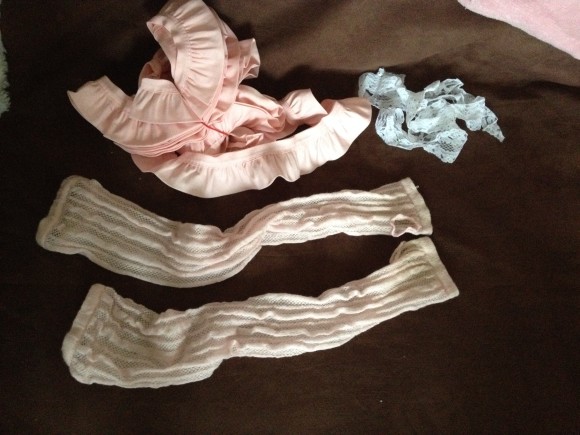
Supplies:
A pair of knit gloves – mine came from Claire’s, I think, but I’ve had them forever so I don’t really remember LOL.
Pink ruffle trim – I have a ton of this that I hoarded from when I worked at Jo Ann – you don’t have to buy nearly as much as I have pictured here, you really don’t need more than a yard! You also don’t need to buy it pre-ruffled if you can run a thread through one edge and ruffle it yourself.
Lace trim – also came from Jo Ann. You’ll need roughly the same length as the other trim.
Planning
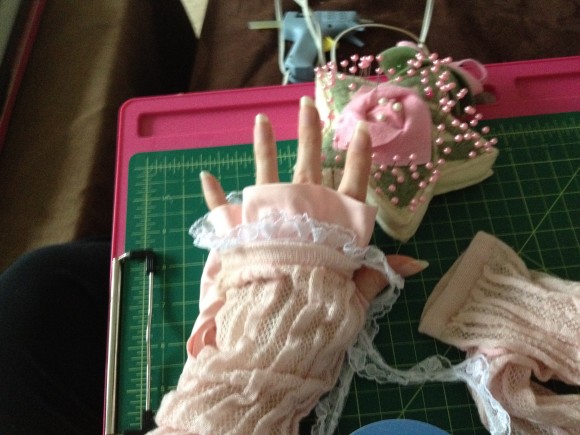
This is me trying the glove on and laying my supplies on top of it to see how they look layered together! I ended up ditching the lace I photographed in the last photo, and went for this narrower lace instead, so that plenty of the pink ruffle stayed visible. Also, this smaller lace has hearts on it, so that’s always a win. :3
Cutting & Pinning
Cut your trim to a length longer than it would take to wrap around your hand. Then use the length you just cut to also cut the pieces for the other side, so that they’ll match~
Lay them out on the glove again, just like you did during the Planning step, but more neatly. I still did this still right on my hand rather than taking the glove off. Mainly the reason for that was so that the elastic around the fingers would be properly stretched to the size of my hand so that I knew the length of trim was enough. Pin the trim in place, being careful not to poke your hand because you’re still wearing it at this point LOL.
Sewing
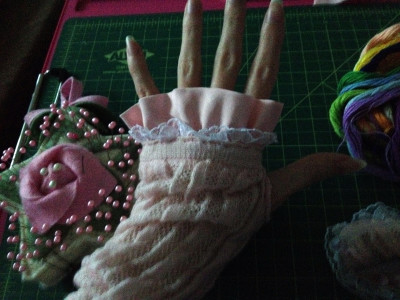
My sunlight was going away by this point in the project, so this photo is darker haha//
But if you look closely, you can see the pink stitches along the edge of the glove!
I took the glove off for the sewing, the pins keeping the elastic stretched as I needed it,
but I put the glove back on to model it for this pic.
For a small project like this, I like hand sewing (the stitch I used is a normal back stitch)
but if you have a sewing machine then it’s certainly possible to use it!
If it were me though I would have trouble getting through all the layers we’re sewing through,
plus it always feels awkward maneuvering the machine for a project this small,
so I recommend hand sewing unless you’re really confident with your machine!

Add Details and Finish!
You are pretty much done at this point!
Try your gloves on to make sure that your fingers still go through the elastic,
because in sewing along it the elasticity is likely gone~
You can put any kind of pretty additional details on top!
I like to use brooches or two-way clips rather than permanently affixing anything on them,
so that I can swap them out and mix-and-match however I like!
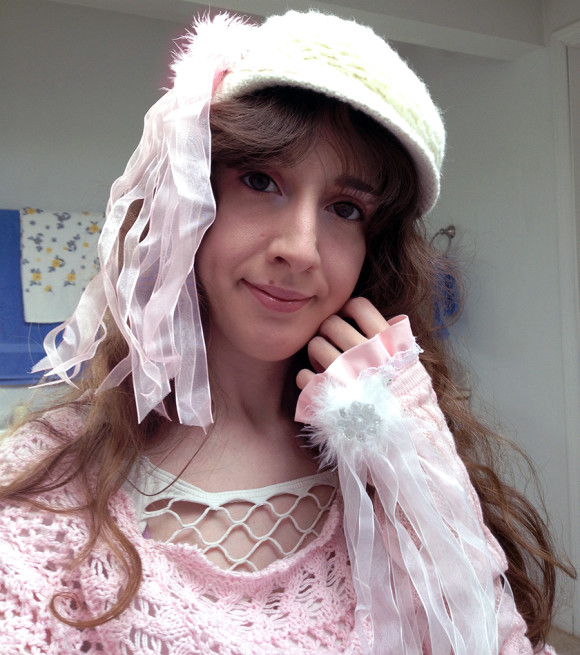
Here they are with a fluffy white pin and long trailing ribbons!
Thursday, March 19th, 2015 12:00 pm
Subscribe to the comments feed if you like.
You can leave a response, or trackback from your own site.
